Understanding Finish Trim: Types and Styles
Finish trim plays a crucial role in elevating the aesthetics and functionality of any interior space. From subtle baseboards to intricate crown moldings, the finish trim acts as the final touch that integrates architectural elements and enhances overall design cohesion. Whether renovating a historic home or designing a contemporary interior, selecting the right finish trim is essential for achieving a polished, professional look. For those seeking expert guidance and quality craftsmanship, exploring various trim profiles, materials, and installation techniques can make all the difference. To start your journey, consider visiting Finish trim options that align with your project’s style and durability needs.
Popular Finish Trim Profiles and Their Uses
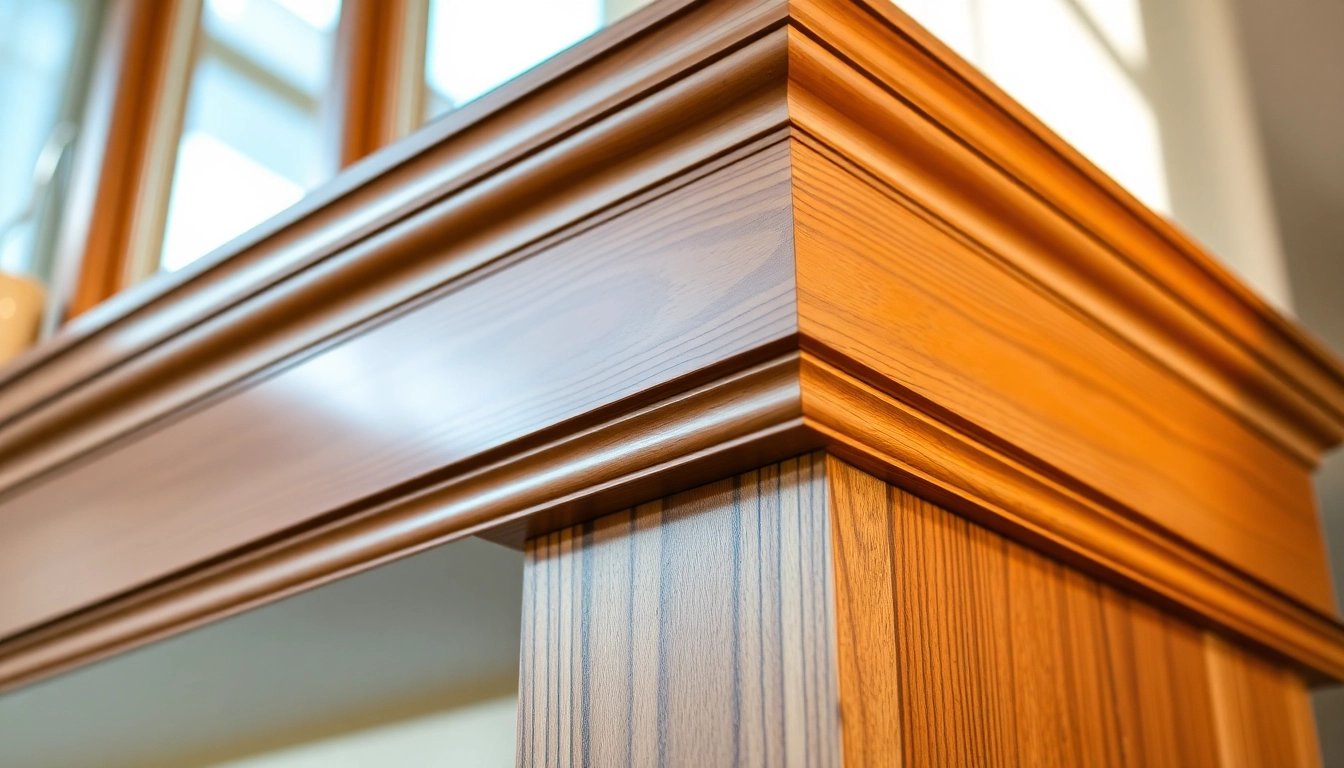
Choosing the appropriate trim profiles is foundational in defining the character of your interior. Classic profiles like colonial or ogee moldings bring traditional elegance, while sleek, minimalist designs suit modern aesthetics. Baseboards are typically broader and designed to cover the joint between wall and floor, providing stability and visual transition. Crown moldings vary in complexity, from simple profiles to elaborate, layered designs that add grandeur to ceilings.
Among the most commonly used types, baseboards and casings are essential for formal and informal spaces, offering both decorative and protective functions. For instance, a tall baseboard can make a statement in a living room, while a narrow profile might blend seamlessly into contemporary settings. Crown moldings can range from simple, single-cove designs to elaborate multi-layered profiles that create a sense of depth and richness.
Advanced profiles like picture rails and chair rails serve both decorative and practical purposes, protecting walls from furniture and creating visual segmentation. Understanding the function and style of each profile helps in selecting the right trim that complements your architectural intent and personal taste.
Matching Trim Styles with Architectural Elements
Achieving harmony between trim and architecture is key to a cohesive interior. For historic homes with ornate detailing, intricate moldings and carved wood trims echo period-specific craftsmanship. Conversely, contemporary homes favor clean lines and restrained profiles ensuring a sleek look.
When matching trim styles with architectural elements, consider the overall style—Victorian, Colonial, Modern, or Transitional. For example, a Victorian interior might feature elaborate crown moldings with intricate corbels, while a modern minimalist space benefits from flat, unadorned baseboards and simple door casings.
Color and finish should also complement architectural details. Light-colored, satin-finish trims can brighten a room with heavy architectural moldings, whereas darker finishes on trim can create contrast and definition, especially against lighter wall colors. Properly matching trim styles with windows, doors, and wall details ensures a balanced aesthetic that underscores your design goals.
Materials and Finishes for Durable, Beautiful Trim
The material choice significantly influences the appearance, durability, and ease of installation of finish trim. Traditional wood remains popular for its authenticity, ease of staining, and repairability. Softwoods like pine or cedar are budget-friendly, while hardwoods such as oak, maple, or cherry offer high durability and rich grain patterns.
For moisture-prone areas like bathrooms or basements, composite or PVC trims provide resistance to humidity and pests, with options for painting or staining to match aesthetic preferences. MDF (medium-density fiberboard) is an affordable alternative that accepts paint well and can mimic hardwood profiles once finished properly.
Finishes and surface treatments further enhance the appearance and protection of trim. Clear finishes highlight natural wood grain, while paints and stains can be used to match or contrast wall colors. Exterior trim benefits from weather-resistant paints or specialty coatings, increasing longevity in harsh environments.
Choosing the right material and finish depends on project location, exposure conditions, budget, and desired aesthetic. Combining durability with visual appeal ensures your trim maintains its charm for years to come.
Preparation and Planning for a Superior Finish
Measuring and Cutting Techniques for Precision
Accurate measurement and precision cutting are the backbone of professional-looking finish trim. Start by carefully measuring wall lengths, door and window openings, and ceiling heights. Use a reliable tape measure and double-check measurements to avoid errors. Precise measurements prevent visible gaps and ensure that joints fit seamlessly.
When cutting to size, employ a quality miter saw or fine-tooth hand saw for clean, accurate cuts. Miter cuts are essential for corners, door jams, and crown moldings, requiring precise angles—most commonly 45 degrees for corners. Be sure to calibrate your tools regularly and use a square to check angles before cutting.
Mark your measurements clearly on the material, and consider dry-fitting pieces before final attachment to verify fit. For complex profiles or detailed cuts, using a coping saw or specialized jigs can help achieve tight, clean joints that are nearly invisible once painted or stained.
Selecting the Right Paints and Stains
The finishing coat significantly impacts both the look and longevity of your trim. High-quality paints and stains can elevate your interior while providing resistance to wear and environmental factors.
For painted trim, choose a durable, low-sheen or satin finish for a balance of elegance and ease of cleaning. Semi-gloss or gloss paints are often preferred for baseboards and crown moldings as they reflect light and resist scuffs. Consider brands with excellent adhesion and minimal application issues—Benjamin Moore Aura Interior Latex paint, for instance, is favored among professionals for its smooth finish and durability.
Stains, on the other hand, are ideal for highlighting the natural beauty of wood. Oil-based stains penetrate deeply and provide rich coloration, while water-based stains dry quicker and emit fewer odors. Top-coats such as polyurethane are often applied over stain to provide a protective barrier.
Preparation involves sanding the trim thoroughly to ensure an even surface, followed by priming if necessary. Applying multiple thin coats rather than one thick layer results in a superior finish with fewer drips or runs.
Tools and Equipment for Professional Results
Achieving high-quality finish trim requires the right tools. Essential equipment includes a high-quality miter saw, nail gun, measuring tape, level, and pneumatic nailer for efficient fastening. A detailed level and square help ensure accurate alignment.
Additional tools like a putty knife, caulk gun, and sanding blocks are vital for finishing touches, filling gaps, and smoothing surfaces. For detailed profile work, a coping saw, chisel, or router can add precision and customization.
Investing in quality tools, even for DIY projects, reduces errors and speeds up installation while producing cleaner, more consistent results. Proper maintenance of tools ensures safety and longevity, leading to professional-grade finishes every time.
Installation Best Practices for Finish Trim
Step-by-Step Installation Process
The process begins with preparing the workspace—covering floors, taping edges, and ensuring walls are clean. Measure, cut, and dry-fit all pieces to confirm fitment before attaching. The step-by-step approach involves:
- Marking precise locations for each piece.
- Using a level to verify horizontal and vertical alignment.
- Securing trim with a nail gun, starting from the center and working outward.
- Checking for gaps and alignment regularly during installation.
Attention to detail during each step prevents misalignment and enhances the final appearance.
Joinery, Mitering, and Fitting Tips
Perfect joints elevate the overall professional look. Use a miter saw for precise 45-degree cuts at corners. When fitting pieces, coaping joints instead of butt joints provides a clean, seamless appearance, especially in crown molding and baseboards.
For irregular angles or complex corners, employ adjustable or flexible miter joints. Fitting pieces tightly with minimal gaps requires patience—use clamps or caulking to fill imperfections for a flawless finish.
Ensuring cuts are exact and joints fit snugly reduces the need for extensive sanding or filling, streamlining the finishing process.
Securing and Finishing for a Flawless Look
Attaching trim securely involves using appropriate fasteners—nail or screw guns with nails suited for the material. Countersinking nails allows for filling and smoothing surfaces. Use a nail set for flush finishing, ensuring that no nail heads are visible.
Final steps include filler or wood putty applied over nail holes and joints. Sand smooth with fine-grit sandpaper for an even surface. Primer and paint or stain are then applied, with attention to avoiding drips and brush marks.
Patience in finishing ensures a seamless, polished appearance, making your trim appear as if crafted by a professional.
Finishing Touches and Quality Control
Sanding, Caulking, and Painting Techniques
Sanding is crucial; use fine-grit paper to smooth surfaces and edges after filling and before painting. Always wipe away dust before applying paint to avoid imperfections. Caulking gaps between trim and walls creates a cohesive look, especially around corners and edges.
Applying paint or stain should involve multiple thin coats, allowing sufficient drying time. Use quality brushes and rollers designed for trim to minimize brush marks and achieve even coverage. For painted trim, finishing with a semi-gloss or satin sheen enhances durability and appearance.
Common Mistakes to Avoid in Finish Carpentry
Heeding caution with measurement and fit is essential. Common errors include over-cutting, uneven joints, visible fasteners, and rushed finishing. Avoid leaving nails exposed; always countersink and fill properly. Skipping sanding or using low-quality paints can lead to a rough finish and early deterioration.
Time invested in careful preparation, precise cutting, and finishing yields superior results that stand the test of time and impress clients or visitors alike.
Maintaining and Cleaning Your Finish Trim
Routine cleaning with a soft damp cloth prevents dust and dirt buildup. Address scuffs or stains promptly with gentle cleaning agents suitable for your trim’s finish. Regular inspections allow early detection of damage or deterioration, facilitating easy repairs.
Long-term maintenance preserves your investment, ensuring your interior remains elegant and functional for years.
Troubleshooting and Advanced Tips
Dealing with Irregular Walls and Uneven Surfaces
Walls that aren’t perfectly flat can pose challenges. Use shims or extend longer pieces to compensate for irregularities. Flexible profiles or advanced molding techniques allow for better adaptation to uneven surfaces, maintaining aesthetic integrity without visible gaps.
Enhancing Trim Details with Decorative Elements
Adding decorative elements such as rosettes, corbels, or intricate carvings can elevate basic trim to a statement piece. Consider custom millwork or regional architectural styles for personalization. Coordinating decorative hardware, like decorative nails or brass accents, adds subtle sophistication.
Upgrading Your Finish Trim for a Modern Look
Modern interiors benefit from minimalist profile trims with sharp, clean lines. Using high-gloss paints or monochromatic color schemes emphasizes simplicity and elegance. Incorporate innovative materials like metallic finishes or LED lighting integrations within crown moldings for a futuristic appeal.
Regularly updating your trim details—such as replacing a traditional crown molding with a floating or recessed version—can significantly refresh the space’s aesthetic without extensive remodeling.